.

.

Thursday, August 13, 2015

The Master Bedroom Loft + more chalk painting!

BEFORE! We didn't have to do a thing to the walls (love our knotty pine!) or the floors in this room. 

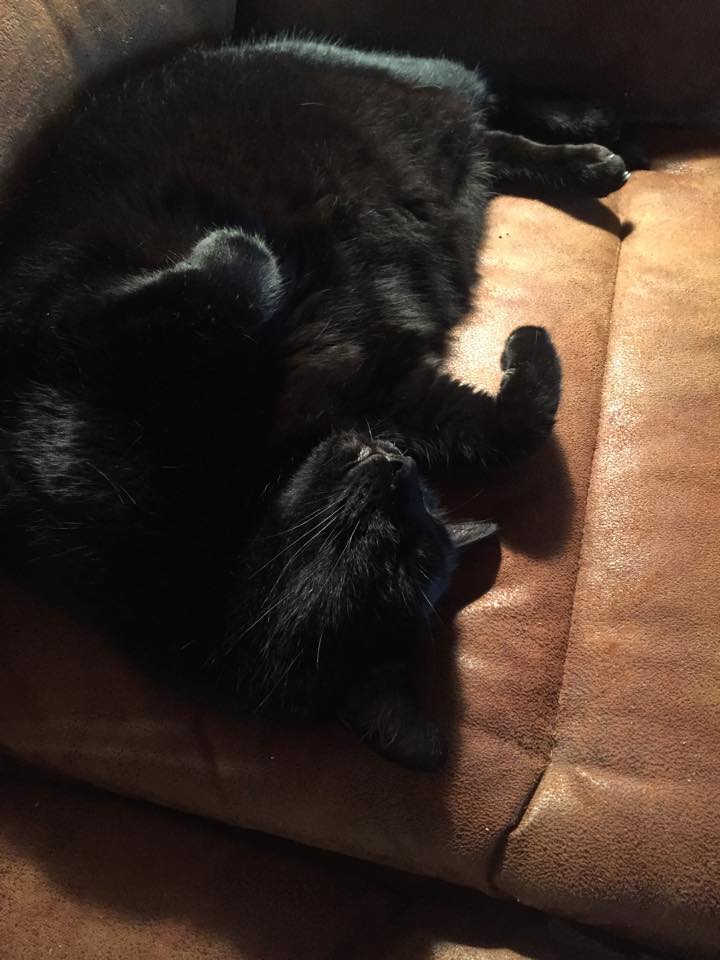
I love sleeping in the loft… except for ONE thing. Free reign for the kitties! Shadow almost always wakes me up at 5am. Then he gets to sleep all day. Somehow that just doesn't seem very fair :)


Anyway, there is a story behind our homemade loft bed. This house was originally built as a hunting cabin… a.k.a. it was just one huge man-cave where much partying took place and no one ever lived here full time. As a result, there was something missing—a very important thing: CLOSETS! Nope, not one clothes closet in the whole house. What's a girl to do? 

Aside from getting a couple of wardrobes for our hanging things, I had an idea. How about we buy a bunch of dressers and put our mattress on top?! Then we would have oodles of drawers for clothes. Yes! That will work. Work…. egads it was a lot of work. We purchased these unfinished dressers at IKEA. You know what that means, right? Assembly required! Poor Mikey. It took him about 2 weeks to put all of them together…


Then it took me another week to chalk-paint them all. But I think they turned out great! I used a peacock blue and green layering technique and did more of a wash than a paint so that the wood grain would show through…


I've had a lot of fun decorating this room. We're almost done, but not quite… we will be installing skylights above the bed! I cannot wait for that. Stargazing from my pillow. Oh, yeah! :))

We found these stairs at a thrift store… perfect height! And I love sleeping
way up high like this. It feels like the top spot on a bunk bed. I'm a kid again!

We're two peas in our pod  


Love,
Helyn

Monday, August 10, 2015

The Downstairs Bathroom…

It's done! Finally we have ONE room completely done. I had no idea how long all of these renovations would take. Seriously. But this room turned out to be one of my favorites!!! I, of course, went with some bold colors… you can't stop me!

Here is was … before. Pretty dull and not very functional for us either.


I may have showed you this already but I found an old dresser for $40 that I refinished with chalk paint (of course) in order to use it as a vanity. Here are some of the pics of the process:

It really needed some love! Later we found a tag on the back… Lord & Taylor! 
So we knew it was really well made.

First coat of chalk paint, drying


a surprise pop of red in the drawer!


And here is the final result. All colorful, fun and funky—just the way we like it!!!

A touch of industrial on one wall!
Saw this idea on Pinterest… love that we found
an old NC plate with "TP" on it… haha!


Getting there!!!

Love,
Helyn


Sunday, June 21, 2015

To Boldly Go Where No Kitchen Cabinet Has Gone Before...

Hi friends! Well, first of all… Happy Father's Day, Happy first day of summer and Happy Summer Solstice! At least the calendar gives me some frame of reference. I've been in a remodeling time warp! So much has happened that I haven't even had time to blog about. We finally got the walls painted with the help of some professionals who we hired to take off that dreaded wallpaper. Even THEY had a really hard time so I know it wasn't anything we were doing wrong. It was just really stuck on there.

Here are some pics of the tedious process…

As you can see, it was a big, fat mess. I couldn't even watch after a while. I think after the third day, these guys got frustrated and started getting VERY aggressive in getting that paper off, removing huge chunks of drywall in the process. Yikes. They had to mud over almost everything and then sand. Like I said, a MESS. The whole project took three guys almost one week!

Finally, paint goes on the walls… it's a light, sagey kind of green…


And I just had to have one red accent wall… OMG, that ugly brown door will soon be painted, too! I'm not telling you the color because you will think I have seriously lost my mind. I'll just show it to you when it's done and you can tell me what you think!

Speaking of red, I just love red in a cabin. It seems to bring out the beauty of all that wood. This is where I went a little crazy. In a good way? I decided to be BOLD and paint the cabinets red! Not the doors of course, since they are a gorgeous, wormy chestnut, which is native to these mountains and now a rarity. But I painted behind them… using, of course, Annie Sloan's chalk paint, again Emperor's Silk (same color I used on the front door).

(((((((sigh))))))) It was a real project. It took FOR-EV-ER. Or so it seemed. It was an experiment, after all! I've never painted cabinetry before. I got my inspiration from a pic I saw on Pinterest. This one:

I started with a base of a pale green that sort of matched the wall paint, thinking I would cover that in red and sand some of the red off for a distressed look. This is what happened…

It looked pretty good close up… but overall…

I hated it. It just didn't work for me.

So, I decided to use some dark wax to try to make it more cohesive and wound up with something much too dark. Then I put a red wash over everything and it was just too red and very monotone.

I then sanded off a bunch of the dark wax, actually exposing some of the underlying wood and did another red wash, which gave me some very brilliant red spots! It almost looked like it was glowing. I liked that but, once again, too much red. So I ultimately added yet MORE dark wax, but only used it sparingly and in streaks, to imitate a wood grain and… voila! It worked. I was finally happy with the end result:


Here they are, all done, finally! Mikey putting the cabinet doors back on.

Now we're waiting for the stone countertops and we'll be putting up glass subway tiles for a backsplash. Stay tuned for more renovation fun from our mountain cabin!

Love,
Helyn

Monday, June 8, 2015

Entry Door Project… Annie Sloan Chalk Paint ROCKS!


Is this not the dreariest door color you have ever seen? I thought so, too!

Have you ever heard of or used chalk paint? OH MY GAWD!!!!! It is amazing. No sanding, no stripping, no priming, and it will cover ANYTHING. Seriously, this stuff rocks and I am now totally addicted to this product. I've been playing around with it for about a month, little projects here and there.

So I decided to tackle something a little more substantial… our new entry door.

I used Annie Sloan's Emperor's Silk and finished with a dark wax. The process is very simple. You paint (one or two coats, I've never needed more), wax and then buff for a nice satin sheen. I used dark wax to give the door more character. Red is our accent color, so I thought, why not?! I have always wanted a red front door… since I was a kid. It's the little things in life that give me pleasure :)

Here is the door with the first coat of paint, nearly dry…


And here it is, finished…

Voila! Rustic red. I'm in heaven.

You can't buy this paint just anywhere. You won't find it at Lowe's or Home Depot. You have to get it from an independent distributor and it IS costly. But a little goes a very long way and the results are outstanding. It's so easy to use, non-toxic and totally fun. I got my paint from The Purple Painted Lady. Excellent customer service. She will answer any questions you have about your project, too!

On another note, we have decided to hire a professional to help us take down the godforsaken wallpaper! It is really just too daunting a task. So happy that that project is off our plates. Then I can do more fun things…. like CHALK PAINT! 

Toodles,
Helyn

Friday, June 5, 2015

Let the Renovations Begin!

Well, I'm tired already…. NOT! It's too exciting and every morning I can't wait to get up and head up the mountain to our new home! The first day was spent mostly cleaning for me. Mikey started taking down the 25-year-old wallpaper. Ugh! What a job!

Go, Mikey, go!

Yesterday, we started on some kitchen renovations—we had the cabinet people (Mark and his son, Ashton) come in to move the peninsula and raise all the cabinets up by 2 inches… I must have room for my Vitamix blender! ;-)

Adorable Ashton, cutting the peninsula.


Before… 
Done! Amazing how it opened up the space… we will need to stain 
the spot where the peninsula stood to match the rest of the oak floor!

Next is to paint the wood BEHIND the wormy chestnut cabinet fronts and install new lighting.

Today we are continuing with the wallpaper removal and getting our first estimate on the laundry/mud room addition. Also heading into Asheville to choose our stone countertops. This is just too much fun! Helyn's Healthy Kitchen will be so beautiful and functional when we're all done. AND, do you see it? … I finally have a gas stove. SCORE!!!

Stay tuned for more renovation projects, photos and updates!


One of the walking trails near the house… I'm naming it Druid Trail.

Love and hugs,
Helyn