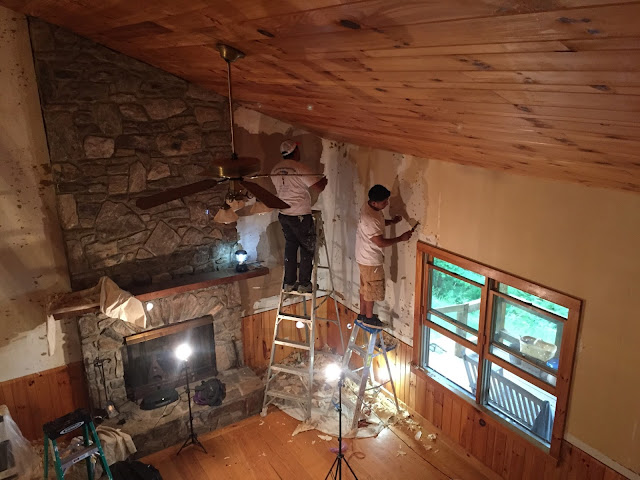
Here are some pics of the tedious process…
Finally, paint goes on the walls… it's a light, sagey kind of green…
And I just had to have one red accent wall… OMG, that ugly brown door will soon be painted, too! I'm not telling you the color because you will think I have seriously lost my mind. I'll just show it to you when it's done and you can tell me what you think!
Speaking of red, I just love red in a cabin. It seems to bring out the beauty of all that wood. This is where I went a little crazy. In a good way? I decided to be BOLD and paint the cabinets red! Not the doors of course, since they are a gorgeous, wormy chestnut, which is native to these mountains and now a rarity. But I painted behind them… using, of course, Annie Sloan's chalk paint, again Emperor's Silk (same color I used on the front door).
(((((((sigh))))))) It was a real project. It took FOR-EV-ER. Or so it seemed. It was an experiment, after all! I've never painted cabinetry before. I got my inspiration from a pic I saw on Pinterest. This one:
I started with a base of a pale green that sort of matched the wall paint, thinking I would cover that in red and sand some of the red off for a distressed look. This is what happened…
It looked pretty good close up… but overall…
I hated it. It just didn't work for me.
So, I decided to use some dark wax to try to make it more cohesive and wound up with something much too dark. Then I put a red wash over everything and it was just too red and very monotone.
Here they are, all done, finally! Mikey putting the cabinet doors back on.


No comments:
Post a Comment